本篇博文:请参考这里。
还有一篇:Nginx 实现域名解析时通过80端口访问多个端口(架设多个网站)!
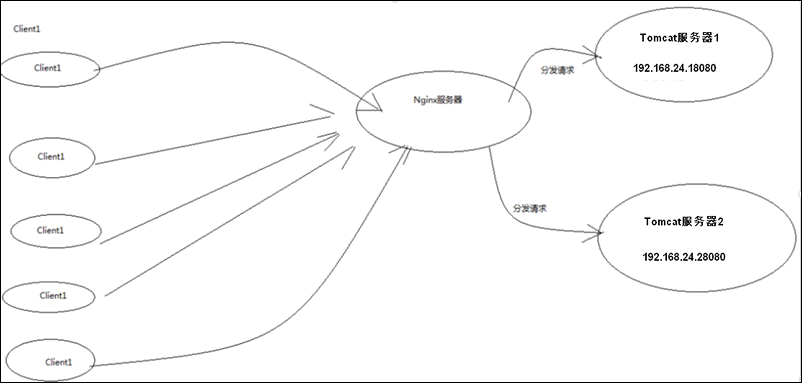
实现高性能负载均衡的Tomcat集群:
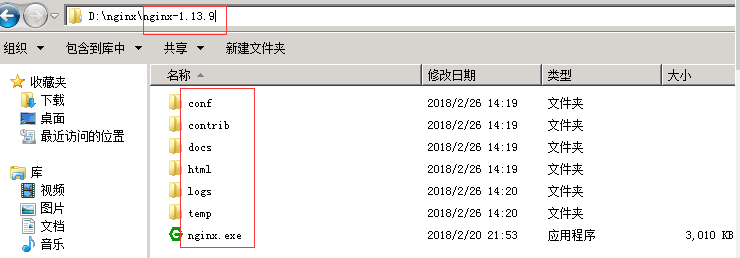
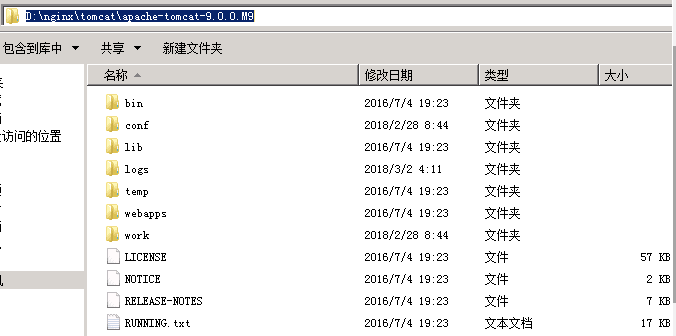
工具:nginx-1.13.9和多个apache-tomcat-9.0.0.M9(解压版),nginx下载地址。
一、多个tomcat的配置
先看安装版的界面:
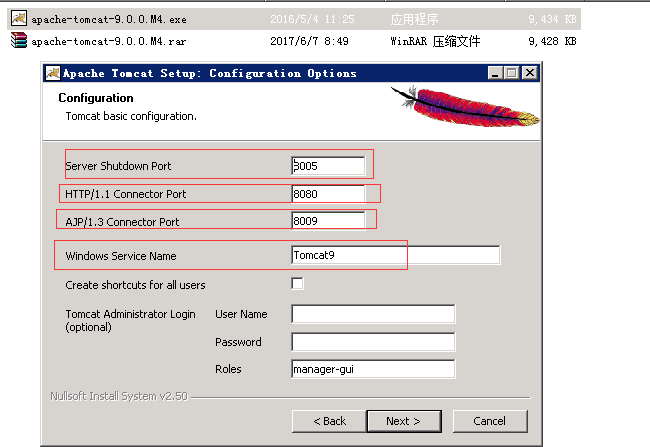
从这可以看出需要免安装版的tomcat里面需要设置的主要是server shutdown port(8005) 和 http/1.1 Connector Port (8080)和AJP/1.3 Connector Port(8009)等三个参数及windows Service Name tomcat服务器名称(对应免安装版的D:\nginx\tomcat\apache-tomcat-9.0.0.M91目录里的名字apache-tomcat-9.0.0.M91),主要是这四个参数。上面截图参数是默认参数。
故看看下面免安装版的注意点:
解压多个tomcat名字命名不一样。tomcat里面的设置点:
-
修改Tomcat的conf目录下的server.xml,修改这多个Tomcat的启动端口,分别为18080和28080等。
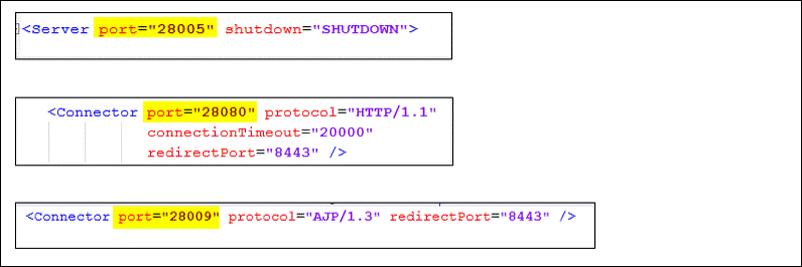
需要修改的是下面三处:蓝色的端口号(关闭,启动,?)
<Server port="28005" shutdown="SHUTDOWN">
    <Connector port="28080" protocol="HTTP/1.1"
               connectionTimeout="20000" redirectPort="8443" />
    <Connector port="28009" protocol="AJP/1.3" redirectPort="8443" />
</Server>
-
在startup.bat里面开头部分设置JAVA_HOME和CATALINA_HOME。
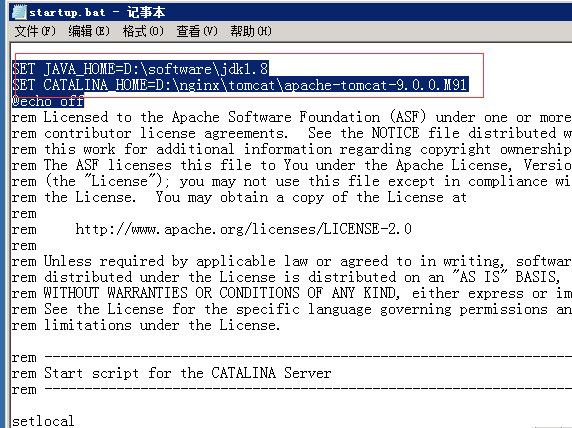
SET JAVA_HOME=D:\software\jdk1.8
SET CATALINA_HOME=D:\nginx\tomcat\apache-tomcat-9.0.0.M91
@echo off
然后启动并访问tomcat首页,看是不是能正常启动。
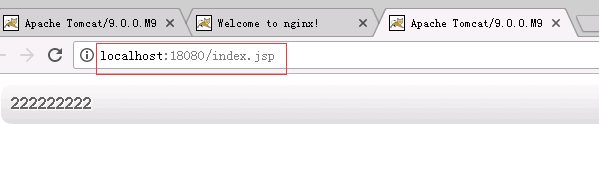
三个tomcat启动后截图:
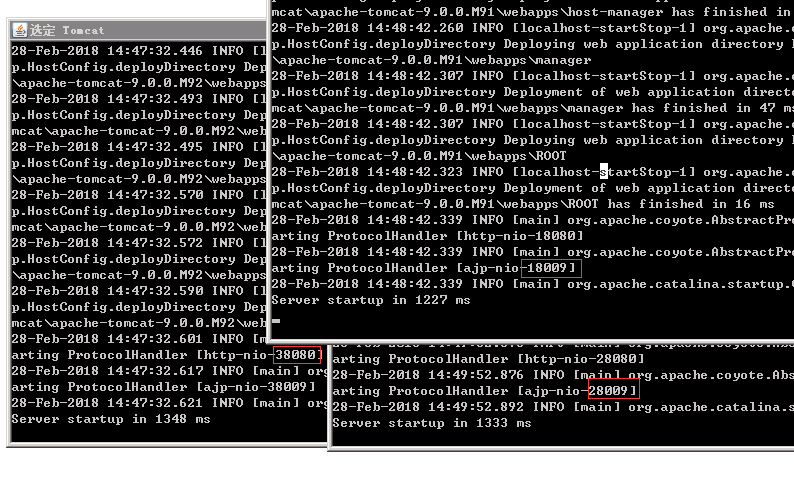
这样三个tomcat能正常启动了。
注意点:tomcat启动报错:(1)端口号问题;(2)配置环境问题。
The JRE_HOME environment variable is not defined correctly(报错了)
原因:Set JAVA_HOME or JRE_HOME if not already set and ensure any provided(设置了多个JAVA_HOME)
二、Nginx的简单配置
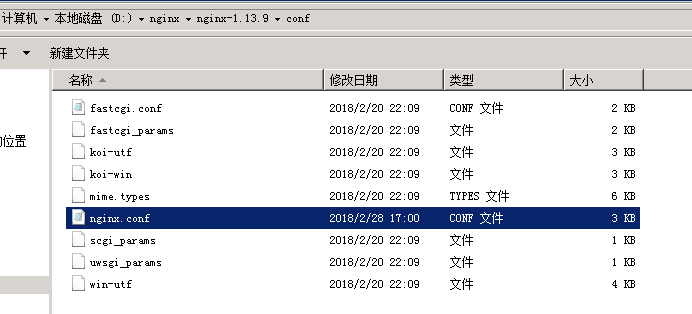
nginxconf的原始代码:
#user  nobody;
worker_processes  1;

#error_log  logs/error.log;
#error_log  logs/error.log  notice;
#error_log  logs/error.log  info;
#pid        logs/nginx.pid;

events {
    worker_connections  1024;
}

http {
    include       mime.types;
    default_type  application/octet-stream;

    #log_format  main  '$remote_addr - $remote_user [$time_local] "$request" '
    #                  '$status $body_bytes_sent "$http_referer" '
    #                  '"$http_user_agent" "$http_x_forwarded_for"';

    #access_log  logs/access.log  main;

    sendfile        on;
    #tcp_nopush     on;

    #keepalive_timeout  0;
    keepalive_timeout  65;

    #gzip  on;

    server {
        listen       80;
        server_name  localhost;

        #charset koi8-r;

        #access_log  logs/host.access.log  main;

        location / {
            root   html;
            index  index.html index.htm;
        }

        #error_page  404              /404.html;

        # redirect server error pages to the static page /50x.html
        #
        error_page   500 502 503 504  /50x.html;
        location = /50x.html {
            root   html;
        }

        # proxy the PHP scripts to Apache listening on 127.0.0.1:80
        #
        #location ~ \.php$ {
        #    proxy_pass   http://127.0.0.1;
        #}

        # pass the PHP scripts to FastCGI server listening on 127.0.0.1:9000
        #
        #location ~ \.php$ {
        #    root           html;
        #    fastcgi_pass   127.0.0.1:9000;
        #    fastcgi_index  index.php;
        #    fastcgi_param  SCRIPT_FILENAME  /scripts$fastcgi_script_name;
        #    include        fastcgi_params;
        #}

        # deny access to .htaccess files, if Apache's document root
        # concurs with nginx's one
        #
        #location ~ /\.ht {
        #    deny  all;
        #}
    }

    # another virtual host using mix of IP-, name-, and port-based configuration
    #
    #server {
    #    listen       8000;
    #    listen       somename:8080;
    #    server_name  somename  alias  another.alias;

    #    location / {
    #        root   html;
    #        index  index.html index.htm;
    #    }
    #}

    # HTTPS server
    #
    #server {
    #    listen       443 ssl;
    #    server_name  localhost;

    #    ssl_certificate      cert.pem;
    #    ssl_certificate_key  cert.key;

    #    ssl_session_cache    shared:SSL:1m;
    #    ssl_session_timeout  5m;

    #    ssl_ciphers  HIGH:!aNULL:!MD5;
    #    ssl_prefer_server_ciphers  on;

    #    location / {
    #        root   html;
    #        index  index.html index.htm;
    #    }
    #}

}
修改后的代码:
#user  nobody;
worker_processes  1;

#error_log  logs/error.log;
#error_log  logs/error.log  notice;
#error_log  logs/error.log  info;

#pid        logs/nginx.pid;

events {
    worker_connections  1024;
}

http {
    include       mime.types;
    default_type  application/octet-stream;


    #log_format  main  '$remote_addr - $remote_user [$time_local] "$request" '
    #                  '$status $body_bytes_sent "$http_referer" '
    #                  '"$http_user_agent" "$http_x_forwarded_for"';

    #access_log  logs/access.log  main;

    sendfile        on;
    #tcp_nopush     on;


    #keepalive_timeout  0;
    keepalive_timeout  65;


    #gzip  on;
    upstream  netitcast.com{
server 127.0.0.1:18080  weight=1;
server 127.0.0.1:28080  weight=1;
server 127.0.0.1:38080  weight=1;
}
    server {
        listen       80;
        server_name  localhost;

        #charset koi8-r;

        #access_log  logs/host.access.log  main;

      # location / {
      #      root   html;
      #      index  index.html index.htm;
      #  }
  location /{
      proxy_pass  http://netitcast.com;
      proxy_redirect default;
        }

        #error_page  404              /404.html;

        # redirect server error pages to the static page /50x.html
        #
        error_page   500 502 503 504  /50x.html;
        location = /50x.html {
            root   html;
        }

        # proxy the PHP scripts to Apache listening on 127.0.0.1:80
        #
        #location ~ \.php$ {
        #    proxy_pass   http://127.0.0.1;
        #}

        # pass the PHP scripts to FastCGI server listening on 127.0.0.1:9000
        #
        #location ~ \.php$ {
        #    root           html;
        #    fastcgi_pass   127.0.0.1:9000;
        #    fastcgi_index  index.php;
        #    fastcgi_param  SCRIPT_FILENAME  /scripts$fastcgi_script_name;
        #    include        fastcgi_params;
        #}


        # deny access to .htaccess files, if Apache's document root
        # concurs with nginx's one
        #
        #location ~ /\.ht {
        #    deny  all;
        #}
    }

    # another virtual host using mix of IP-, name-, and port-based configuration
    #
    #server {
    #    listen       8000;
    #    listen       somename:8080;
    #    server_name  somename  alias  another.alias;

    #    location / {
    #        root   html;
    #        index  index.html index.htm;
    #    }
    #}

    # HTTPS server
    #
    #server {
    #    listen       443 ssl;
    #    server_name  localhost;

    #    ssl_certificate      cert.pem;
    #    ssl_certificate_key  cert.key;

    #    ssl_session_cache    shared:SSL:1m;
    #    ssl_session_timeout  5m;

    #    ssl_ciphers  HIGH:!aNULL:!MD5;
    #    ssl_prefer_server_ciphers  on;

    #    location / {
    #        root   html;
    #        index  index.html index.htm;
    #    }
    #}
}
核心配置:
稍微详细的配置:
worker_processes 1;#工作进程的个数,一般与计算机的cpu核数一致
events {
worker_connections 1024;#单个进程最大连接数(最大连接数=连接数*进程数)
}
http {
include mime.types; #文件扩展名与文件类型映射表
default_type application/octet-stream;#默认文件类型
sendfile on;#开启高效文件传输模式,sendfile指令指定nginx是否调用sendfile函数来输出文件,对于普通应用设为 on,如果用来进行下载等应用磁盘IO重负载应用,可设置为off,以平衡磁盘与网络I/O处理速度,降低系统的负载。注意:如果图片显示不正常把这个改成off。
keepalive_timeout 65; #长连接超时时间,单位是秒
gzip on;#启用Gizp压缩
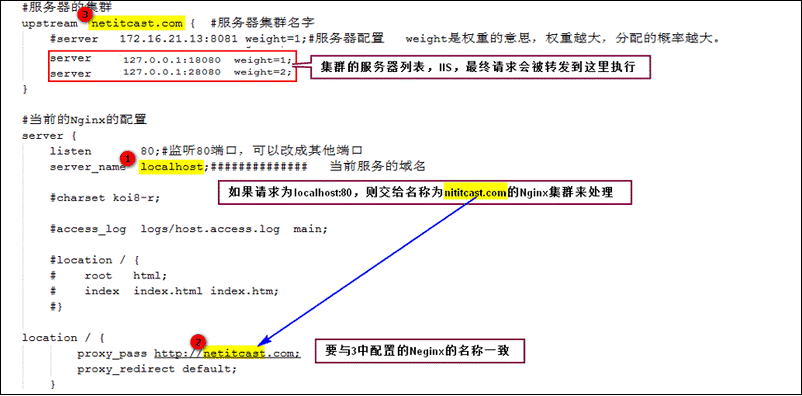
#服务器的集群
upstream netitcast.com { #服务器集群名字
server 127.0.0.1:18080 weight=1;#服务器配置 weight是权重的意思,权重越大,分配的概率越大。
server 127.0.0.1:28080 weight=2;
}
#当前的Nginx的配置
server {
listen 80;#监听80端口,可以改成其他端口
server_name localhost; # 当前服务的域名
location / {
proxy_pass http://netitcast.com;
proxy_redirect default;
}
error_page 500 502 503 504 /50x.html;
location = /50x.html {
root html;
}
}
}
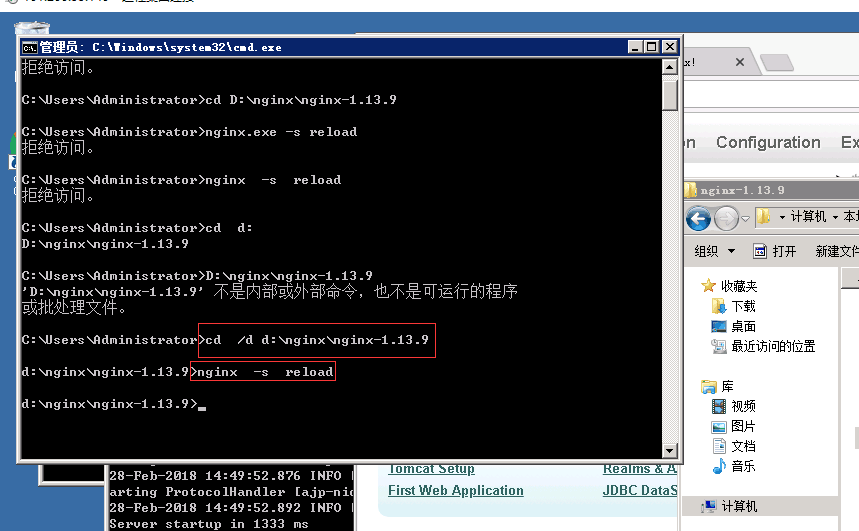
三、Nginx的启动、关闭、重启
命令:(通过cmd以守护进程方式启动nginx.exe:start nginx,停止服务:nginx-s stop 或nginx -s quit,重新加载配置:nginx -s reload;)。
注意点:(1.nginx.conf文件里的 pid logs/nginx.pid;要打开,不可注释掉(#pid logs/nginx.pid;),注释掉可能会导致重启或关闭失败。
如果nginx不是安装在c盘的话,在启动命令时一定要先cd到具体的磁盘的文件夹 命令:cd /d D:\nginx\nginx-1.13.9)